The Olson Mask Pattern was created by Clayton Skousen & Rose Hedges (Unity Point Health from the handout). Please also refer to their webpage here. I’ve also embedded their YouTube Video at the bottom of this post. Please refer to their excellent video.
With my novice sewing skills (I literally just bought a novice machine off Amazon for $87, Brother XM2701), I just couldn’t manage sewing “on a curve”. That is, I lack the hand-eye-foot coordination to sew along the curve of the Olson pattern.
I’ve created a pattern that just has straight lines (reduces the learning curve for sewing curved shapes on the sewing machine) for those of you who may be new to sewing, like me. Follow the same written instructions from the Olson mask.
No elastics?! Yeah…It is nearly impossible to get any until mid-May or June. Use piping, bias tape, ribbon, shoes laces, etc. We’re going to have to go old school where they used ties instead of elastic ear-loops.
Printing tip: Be sure to print the PDF “at actual size”. Don’t “shrink” or “print to fit media” because that alters the actual size. Use the 1×1” square as a reference to make sure the print is to the correct scale.
Iron! When the instructions tell you to fold the cloth over 1/4 inch, you can use a pin and an iron to make that edge flat before sewing. I don’t have a clothes iron, so I just used my hair flat iron. No hair flat iron? Just heat up a flat bottom pan/pot on the stove and press out the fabric that way. It is worth it to get the edge pressed BEFORE putting it through the sewing machine!!

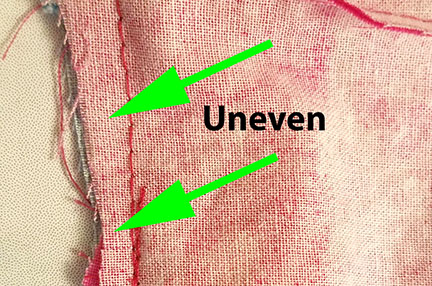
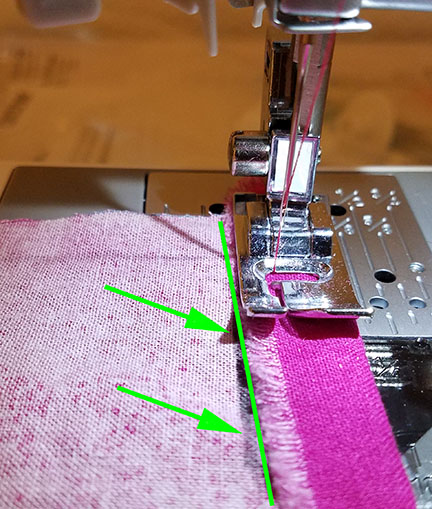
Key! I used a pencil to draw a line/edge so that I could use that as a sight reference to align the sewing machine foot. This way I can get a more consistent 1/4 fold sewn so that your sewing doesn’t look like you were sewing drunk! If you are not used to sewing, it’s kinda tricky to know exactly where that needle is going to fall. It is just like operating a band saw or scroll saw. Use your dominant eye to sight the line.


